
Preparing your magnesium engine case for re-assembly
In our last lessons, we talked about the machine work on your engine case. All thread repair anywhere on the case should have been completed by now. But don’t worry about cleaning right now. It is going to be messy as you de-burr your engine case. So read on how to fully prepare your engine case!
Case De-Burr
When the crankcase comes back from the machine shop it will be “Machine shop clean”, not assembly clean. There may also be some areas like the main bearing tunnels that may require deburring. Now is the time to look over everything to prepare for re-assembly.

Using a bearing scraper, we carefully de-burr the main tunnel. The intermediate shaft and oil pump passages will also need de-burring. Be careful not to slip off the edge at this stage. Keep working until you no longer have sharp lips on the bearing surfaces.
Final review for cleanness
You will also need to perform the final cleaning and flushing of all the oil galleries and recesses in the crankcase. If any type of debris or metal shavings is left in the case it can result in a failure due to contamination. So, make sure that it is clean.
It is also the time to have one last look at all the crankcase studs and threads. Anything that looks like it may fail should be repaired or replaced now. Trying to repair a stud or a thread because it failed during the torque process can result in the entire case having to come apart again. Or worse having it fail shortly after completing the rebuild.

We use an evaporative brake cleaner for flushing out the oil galleries. With a nylon bottle brush, continue the cleaning until you are sure every passageway is clean.
Engine Case Technical Service Bulletin
After the case clean you should preform the TSB, or technical service bulletin regarding the case. Porsche found that there was a chance of oil seepage where the steel pipe for the oil system went through the magnesium case.

The fix is to add a small amount Dowsil 732 silicone to the inside and outside of this spot. Taking a moment to make this upgrade is well worth the peace of mind.
Installing the Main Bearings
Once the case is clean it is time to install the main and intermediate shaft bearings. Verify that the bearing size matches the crankshaft and case size. When installing the bearing shells make sure that the oil feed holes in the case match those in the bearing shell. The bearings should have an equal amount of protrusion above the case half to account for bearing crush.

Because we had our engine case closed and honed, the bearings are standard. They are standard, standard, because the crank that we prepared earlier also measured within standard dimensions.
If you need oversized bearings, the size is the back, or the crankcase side, and the inside, or crankshaft side. They are written like .25/STD, .25/.50. .25 is first over, .50 is second over and .75 is third over. Over-sized bearings are expensive and hard to find, for that reason we recommend closing and honing the case. Most shops if they do just align bore, will leave the nose, or number 8 bearing standard. Confirm with your machine shop.
Preparing the crankshaft assembly
Install the crankshaft onto a suitable holding fixture. We use this stand made by Stomski Racing. All final cleaning procedures should have been completed and the crank must be ready for assembly. Assemble the connecting rod bearings into the rods.
We have already re-built our connecting rods and replaced the top rod bushings and confirmed the crank bearings. We balanced our rods with each other as well. Check the component restoration section for this essential work on both the rods and crankshaft.
Putting the Connecting Rods onto the Crankshaft
Before installing the bearing, shells verify that the size is correct for the crank pin. Lubricate the bearing shell using a suitable engine oil or assembly oil. We like to use an ATF, or Automatic Transmission Fluid, for our assembly. Because of the lightweight nature of the oil, it makes a great assembly oil.
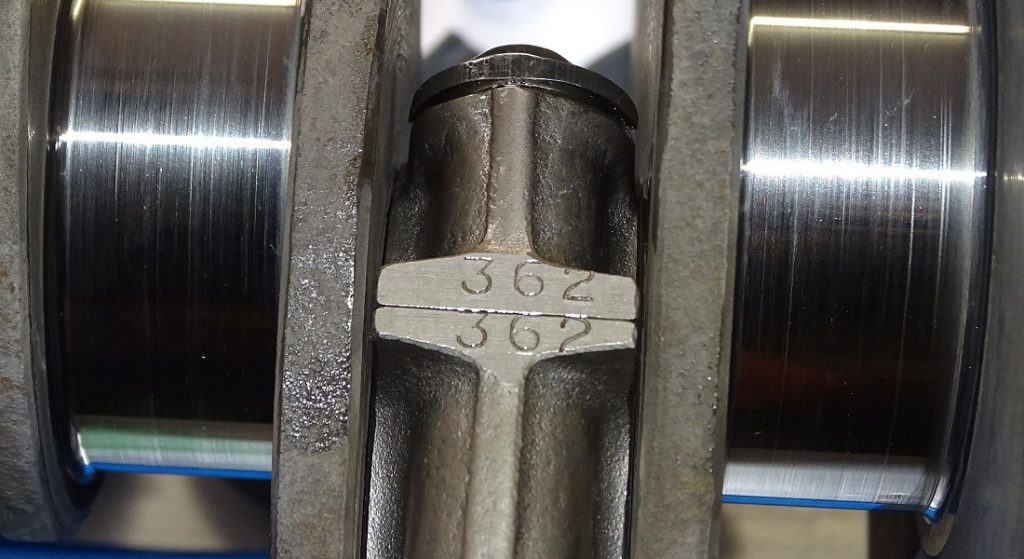
When installing the connecting rods to the crank make sure that the rod numbers on the cap and the rod face each other. Another way to confirm correct rod/cap alignment is the bearing locating tangs should be on the same side. Torque the connecting rod nuts and verify that each rod turns freely.
Number 8 Bearing
Assemble the number 8 main bearing by installing the front crankshaft seal and bearing to case O-ring. Both the front seal and Oring should be lubricated using silicone grease prior to installation. Lubricate the bearing surfaces with oil and install it onto the crankshaft.

With the crankshaft assembly complete install special tool P221 on to connecting rods for cylinders 1 and 2 to hold the rods up and out of the way. Make sure the locating pin for the number eight bearing is installed and fully seated into the crankcase.
Placing the Crankshaft into the engine case
Take one last look at all the installed bearings in the case, make sure all are in place and correctly seated. Lubricate all the bearings with oil. Pick up the crankshaft by holding the number 3 connecting rod and the number 8 main bearing. The connecting rods for cylinders 4, 5, and 6 should be facing down.
As you pick up the crankshaft assembly, guide the rods through the engine case. Be sure that the number 8 main bearing engages the locating pin in the case.

The crankshaft should rotate freely when sitting on the bearings. We removed tool P221 supports to get ready for the intermediate shaft and oil pump assembly. You will need to re-install the crank rod holding toolset to get ready to close the case.
Next Up in your Porsche air-cooled engine build
In the next lesson, we put the intermediate shaft assembly and the oil pump into the engine case.

2 thoughts on “Engine Case to Crankshaft. How to Rebuild your Air-Cooled Porsche Engine.”
Very good stuff. I’m a full time Porsche tech working on the “old” cars almost exclusively. I learn a lot from these videos. I never knew that groove in the nose bearing was a vent. Why do you like to use ATF for assembly? What do you think about Curil and where do you like to use it?
Hi Daniel
I’m glad that you are enjoying the videos. The reason why I have always used ATF as an assembly lube is because it is safe to use in both engines and transmissions specifically automatic transmissions. It is also an EP (Extreme Pressure), rated oil meaning it can easily withstand valve train pressure as well as initial start-up pressures in the engine. When it comes to using Curil I don’t. There is no place for that sealant anywhere in the air-cooled Porsche engine. Unfortunately, Curil has worked its way into the Porsche world being recommended by aftermarket books written by Porsche enthusiasts that have no real-world training or experience.
Thanks for your comment and we have a lot more coming out soon.
Kurt
Comments are closed.